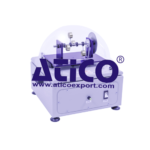
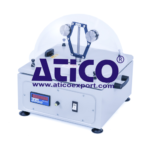
Torsion of Bar
Technical Description:
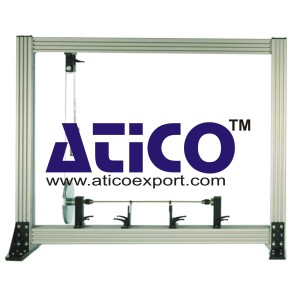
Torsion occurs primarily on axles and drive shafts in motor vehicles and machines. The torsion occurring in the shaft cause cross-sections of the shaft to be pushed together around the longitudinal axis. When a torque is applied to a circular shaft the cross-section remains flat and no warpage occurs. In the event of minor torsion the length and radius remain unchanged. The straight lines on the outer circumference of the shaft running parallel to the axis become helixes. Non-circular cross-sections mostly result in warpage. Torsion of Bar investigates the torsion of a bar under a torque. The bar is clamped into two movable bearing blocks by a chuck. The torque is generated by a circular disc, a deflection roller and a weight. The clamping length and torque can be varied. The resultant torsion is read-off at two random points on the bar by means of angle indicators. The fundamentals of elastic torsion are illustrated by the round bar. Three other bars are provided in order to investigate special cases: two thin-walled enclosed sections (a tube and a square tube) and a longitudinally slotted tube (thin-walled open section). The various elements of the experiment are clearly laid-out and housed securely in a storage system. The complete experimental set-up is arranged in the frame. The well-structured instructional material sets out the fundamentals and provides a step-by-step guide through the experiments.
Specification:
1. Elastic torsion of bars
2. 2 movable bearing blocks with clamping chuck for mounting of bars, 1 fixed and 1 movable bearing
3. 2 movable angle indicators clampable to the bar
4. 4 bars: round bar with full cross-section, tube, longitudinally slotted tube, square tube
5. Application of load to the bar by a mass disc, a deflection roller and a set of weights
6. Storage system to house the components
7. Experimental set-up in frame.
Technical Data:
4 brass bars, l=695mm
– round bar, d=6mm
– tube, slotted tube
d=6mm, wall thickness: 1mm, slot width: 0,3mm
– square tube
WxH: 6mm, wall thickness: 1mm
Disc to apply the load
– effective radius: 110mm
Angle indicator
– measuring range: -90°…+90°, graduations: 1°
Weights
– 1x 1N (hanger)
– 4x 1N
– 3x 5N

